Simple activities. Colorful little moments.

Paper Pumpkin Collage for Kids: An Easy Autumn Craft
Make a paper pumpkin collage from overlapping orange ovals. Find simple cutting steps, a glue order, classroom quantities and an optional Halloween face.

A paper pumpkin collage makes an autumn picture from overlapping ovals. It stays flat on a sheet of paper, so there is no hollow structure to assemble, no pumpkin to carve and no light source to add. Leave it plain for a seasonal display or draw a face for Halloween.
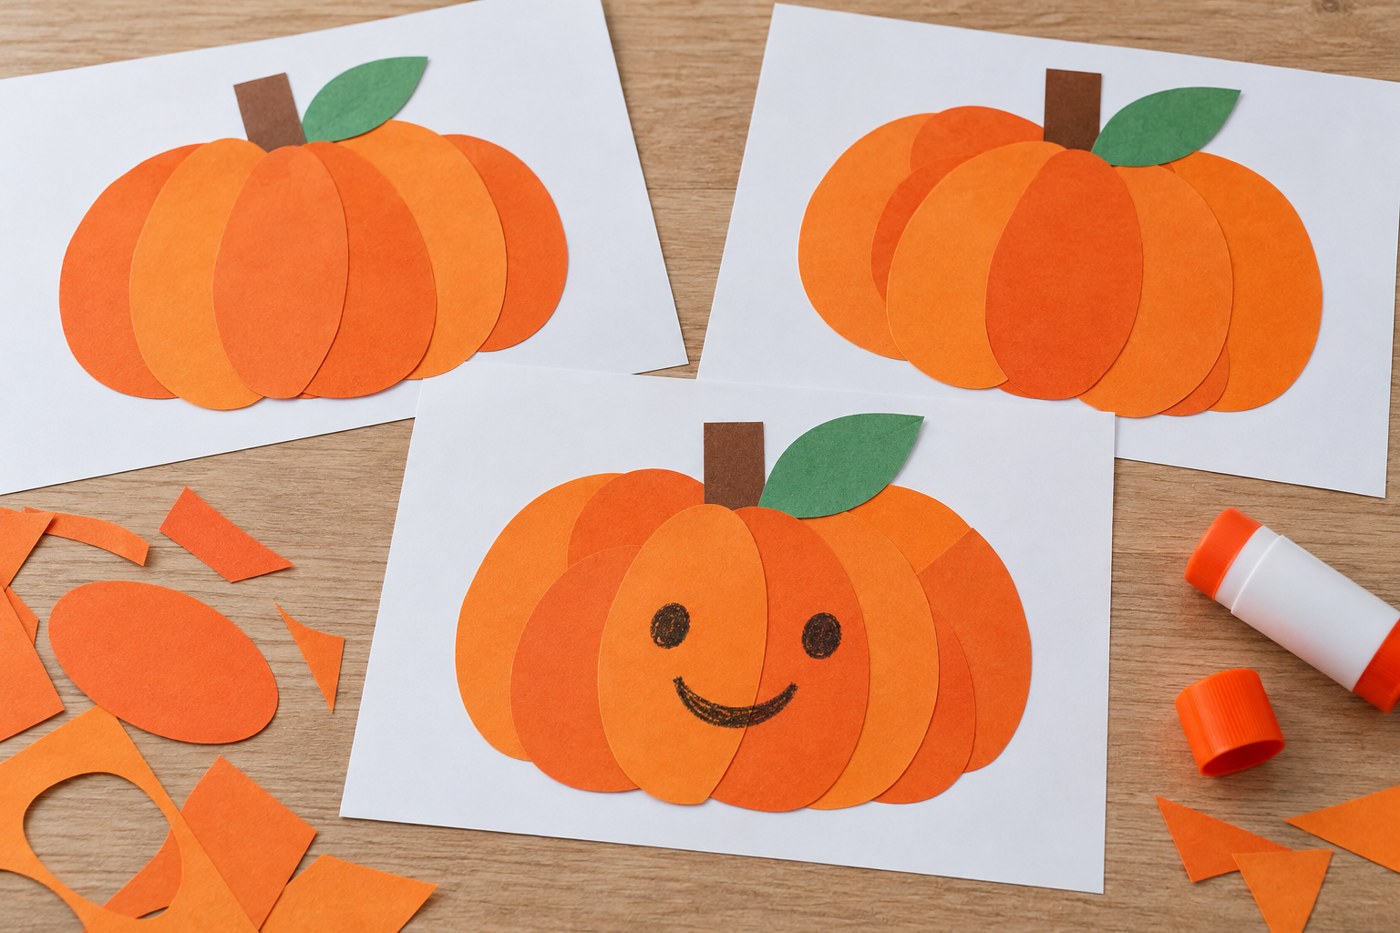
Allow about 15 to 25 minutes, plus drying if the glue needs it. One child needs three to five orange ovals, one short brown stem and one background sheet. The generated illustration suggests possible results; different shapes and spacing will give each pumpkin its own outline.
Gather supplies for one pumpkin
Use orange paper, a small brown scrap, a green scrap, a glue stick, crayons and a background sheet. Suitable scissors and a pencil are useful, with an adult preparing the pieces for children who are not cutting.
For a first picture, make three orange ovals about 12 cm tall and 7 cm wide. These suggested sizes fit comfortably on ordinary Letter or A4 paper when overlapped. Cut a stem about 2 cm wide and 4 cm tall. Save small offcuts in a tray and supervise children who mouth materials.
Draw and cut broad ovals
Draw one tall oval, cut it out and use it as a guide for the others. To avoid a tracing step, an adult can cut several similar ovals separately. They do not need to be identical. Broad pieces are easier to arrange than many narrow strips.
If cutting is not part of today’s activity, tear rounded shapes instead. A pumpkin made from irregular pieces still works as a collage. You can also color plain paper orange before cutting, letting the crayon marks become part of the texture.
Arrange the pumpkin before opening the glue
Place two ovals side by side with an overlap of roughly a third of their width. Put the third oval centrally on top, so the outside edges of the first two remain visible. Adjust the spacing until the combined shape feels pumpkin-like.
To use five ovals, spread four as the back layer and place the last one in front. Keep checking that the total width fits the background. A narrow arrangement makes a tall pumpkin; a wider spread makes a squat one. Both are useful choices to compare.
Glue in an order that preserves the overlap
Lift the central oval and set it aside. Glue the back-layer ovals to the background first. Place the short stem behind the top of the center position, leaving part visible, then glue the central oval over the lower end of the stem.
Add a flat green leaf beside the stem. Draw a simple curved line for a vine instead of attaching string. Press the paper lightly and let it dry flat. If edges curl, use less wet adhesive or a sturdier background on the next picture.
Add a face or keep it seasonal
For a Halloween version, draw two eyes and a mouth with crayon. Draw on the center oval before gluing if the overlapping edges make coloring awkward. The expression can be friendly, surprised or sleepy.
For an autumn scene without faces, add a ground line and a smaller pumpkin beside the first. Change the oval sizes to compare the two silhouettes. This craft does not need a template or a purchased decoration kit.
Prepare for a group of six
Set out six background sheets, eighteen large orange ovals for three-oval pumpkins, six stems and six leaves, plus a few spares. Share crayons and provide enough glue sticks to avoid a long wait. Keep each child’s starting pieces together in a small pile.
An adult can demonstrate the overlapping arrangement once using loose pieces, then remove the example if children prefer to invent their own. Put finished pictures on a flat drying surface with names on the back if needed.
Reuse the scraps
Leftover green and orange paper can become leaves for a paper gratitude tree. For another autumn project with a different construction, make a paper leaf crown.
Store dry collages flat or display them indoors away from heat and moisture. A paper pumpkin is a decoration, not a lantern: keep it separate from candles and other heat sources.