Simple activities. Colorful little moments.

Paper Gratitude Tree for Kids: An Easy Autumn Craft
Make a paper gratitude tree for kids with simple leaves and optional drawing prompts. A gentle autumn or Thanksgiving craft for home and classroom use.

A paper gratitude tree for kids is an autumn craft that can grow over several days. Begin with a brown paper trunk and a handful of leaves, then add drawings or words about small things children appreciate. A favorite game, a helpful person or a sunny walk can all belong on the tree.
The activity also works as a Thanksgiving craft, but it does not need a holiday connection. Keep sharing optional and leave space for leaves that are simply decorated. The aim is to offer a gentle creative invitation, not to require children to feel thankful or explain private experiences.
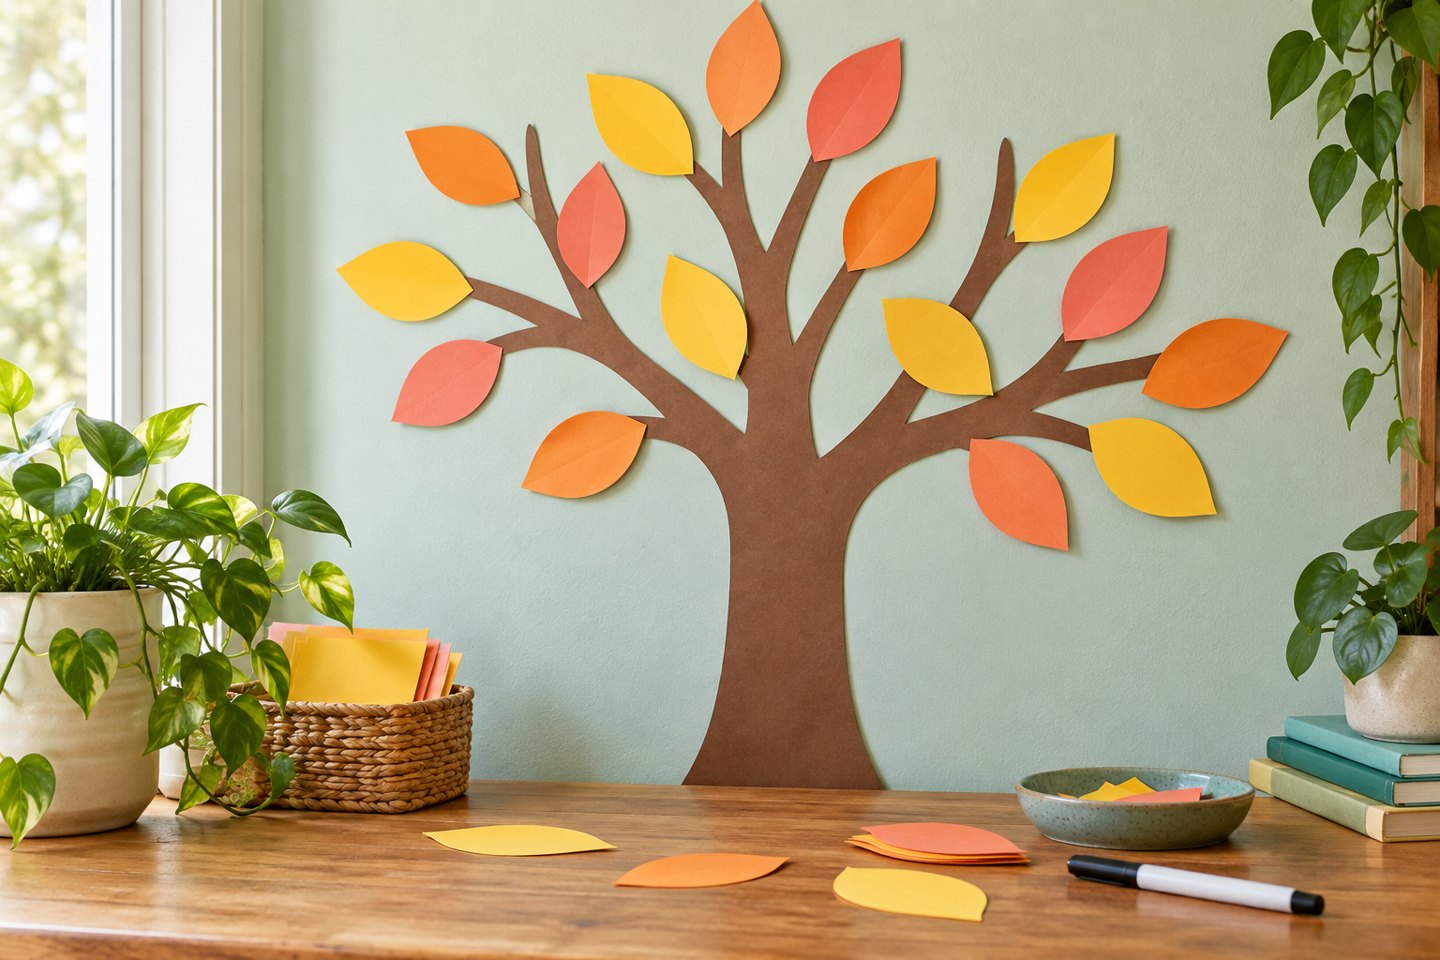
Materials and preparation
Gather brown paper for the trunk, colored paper for leaves, crayons or markers, a glue stick and child-appropriate scissors. A large sheet of paper or a flattened cardboard panel makes a portable background. Yellow, orange, red and green leaves all work; use whatever paper you already have.
An adult can pre-cut leaves for children who prefer drawing or are not ready for scissors. Avoid small embellishments for children who mouth objects. If you display the tree on a wall, use a fixing method suitable for that surface and test removable tape first. A tabletop or freestanding cardboard display avoids attaching anything to a wall.
Make a trunk with room to grow
Draw a broad trunk with several thick branches on the brown paper and cut it out. It does not need to look realistic. A single sheet with branches drawn on it is easier than joining many narrow strips. Glue the trunk to the background and press it flat.
Leave generous open space between the branches for leaves. If several children will contribute, make the background wider rather than packing leaves tightly together. You can draw the tree directly onto the background when cutting is not practical, then use the same leaf activity below.
Cut simple paper leaves
Fold a small piece of colored paper loosely in half and draw half an oval against the fold. Cut around the curved edge, leaving the fold intact, then open it to make a basic leaf. Add a point if you like, or use simple ovals without folding. Adult-prepared shapes work equally well.
Make the leaves large enough for a small drawing or a few words. Try one before cutting a whole pile: if there is no room to draw a toy or write a short phrase, increase the size. Save scraps for another project such as our paper mosaic art.
Offer a prompt, then let the child choose
Try a concrete invitation such as “Draw something you enjoyed today” or “Is there something that made your day easier?” A child might draw a book, a pet, a comfortable chair or a game. An adult can write down their words if asked, without rewriting the answer into a more impressive message.
Other optional prompts include a place where you like to play, something you enjoy making, or a person you would like to thank. Avoid asking children to compare their lives with other people’s or to turn a difficult experience into something positive. “I don’t know” and “I don’t want to share” are complete answers.
Add leaves in a way that fits your setting
At home, place a few blank leaves beside the tree and add one whenever someone wants to. There is no need for a daily streak or a target number. A child can contribute several leaves at once, one leaf for the whole season, or an undecorated leaf that adds color.
In a classroom or group, explain whether the tree will be visible to other people before anyone writes. Invite children to use a drawing, a general idea or a blank colored leaf. Let them keep a personal leaf rather than displaying it. Adults should check that names or private details are not shared without permission.
Turn it into a reusable seasonal display
Attach new leaves with small pieces of suitable removable tape if you want to rearrange them, or glue them permanently for a finished poster. When the background fills up, start a second branch on another sheet. Photographing the craft is optional; ask before sharing identifiable work publicly.
For a related autumn making session, try our paper leaf crown. The same simple leaf shapes can decorate both projects. Keep completed crowns separate from the gratitude display so children can choose whether their written messages stay private.
Common questions
What if a child cannot write yet? Drawing, choosing a color or dictating to an adult are all options. Does every leaf need a gratitude message? No; decorated and blank leaves belong too. How long does it take? Allow roughly 20 minutes for the first tree, with shorter sessions for adding leaves later. Store the finished display flat if you want to keep it, or recycle the paper once everyone has had a chance to save their own contribution.