Simple activities. Colorful little moments.

Paper Leaf Hedgehog Craft: An Easy Autumn Collage
Create a paper leaf hedgehog craft with an oval body and layered autumn colors. Includes assembly order, a no-scissors option and group preparation.

This paper leaf hedgehog craft uses homemade paper leaves to create a textured autumn picture. There is no need to collect or dry real leaves, and the broad shapes are easy to arrange before gluing. The design is a playful seasonal collage: the leaves stand in for the hedgehog’s spines rather than showing its real anatomy.
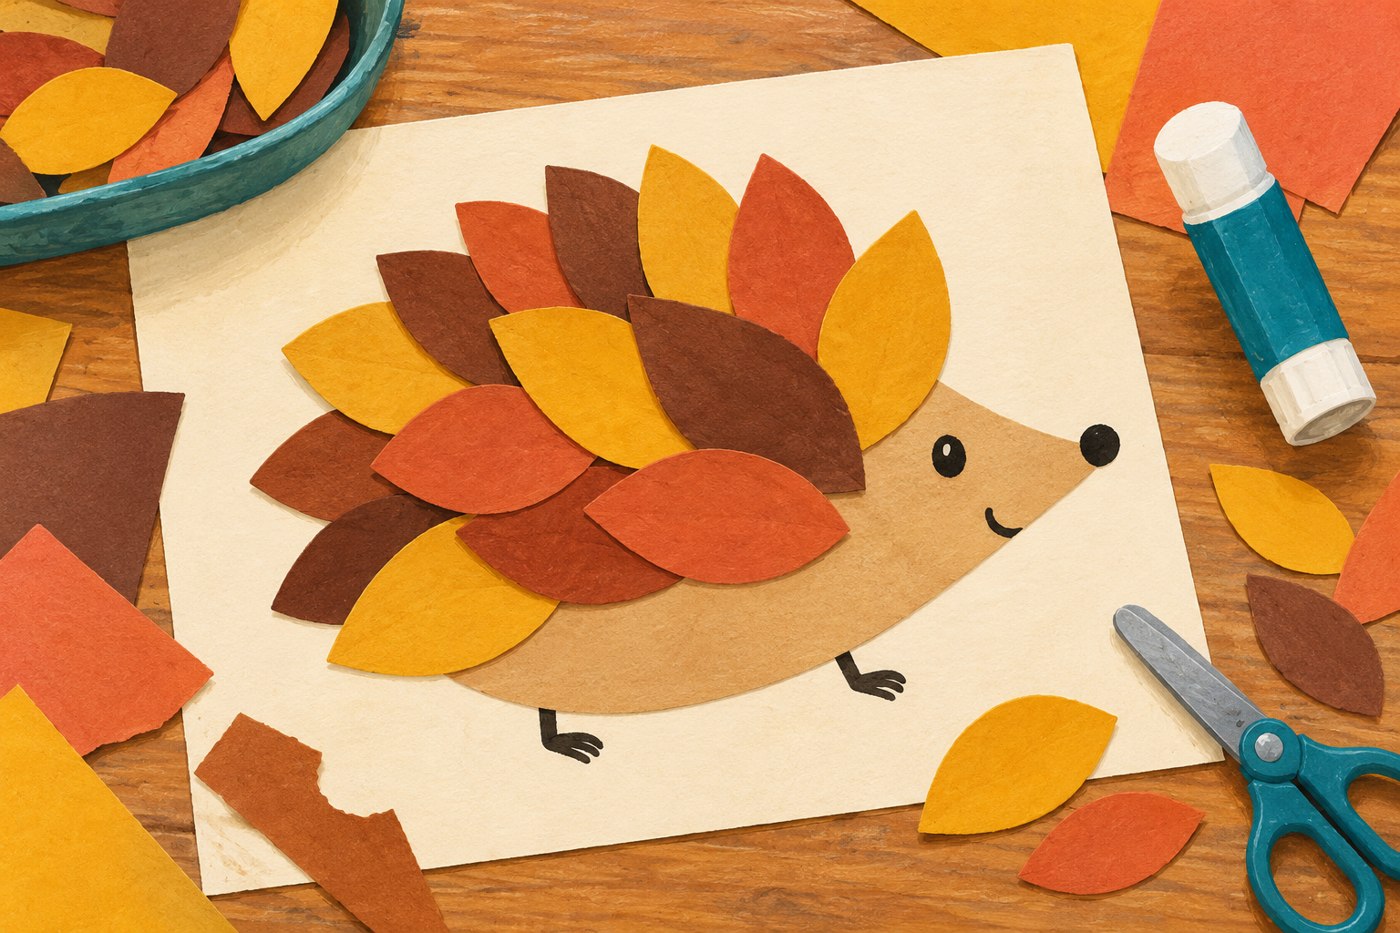
Gather paper in three autumn colors
For one picture, use a sheet of backing card, a palm-sized piece of tan paper, scraps in two or three autumn colors, a pencil, crayons, scissors and a glue stick. Mustard, rust and brown work well, but any colors the child chooses can become the leaves.
Prepare roughly twelve broad leaf shapes about 5–7 cm long. The exact number depends on the size of the body and how much the pieces overlap. Start with a small pile and make more only if needed; very tiny pieces create extra work without improving the basic shape.
Make the body and leave room for the face
Draw a broad oval on tan paper. Add a short triangular snout to one end, then cut around the combined outline. Place it near the lower middle of the backing card, leaving space above and behind it for the paper leaves.
Use a pencil to mark where the face should remain visible. Draw an eye and a rounded nose, or save them until the collage is assembled. A simple oval with a drawn nose also works if joining two shapes is frustrating.
Arrange the back layer first
Lay several leaves behind the oval so their tips rise above its back. Fan them slightly, leaving the snout uncovered. Move the pieces around until the overall outline looks balanced, then lift the body and glue that back row to the backing sheet.
Glue the tan body over the lower ends of those leaves. Add a second row over the body’s back half, overlapping the first row. This order hides the leaf bases and keeps the face readable. There is no need to cover the entire oval.
Add a few details and stop before overcrowding
Draw two small feet below the body and add the eye if it is missing. A line beneath the hedgehog can suggest the ground. Place one or two spare leaves beside it, but leave some blank backing paper so the main shape stands out.
If leaves curl away from the page, add glue underneath the loose base and press with a clean scrap of paper. If the face has disappeared, move the nearest unglued leaf back or add a larger tan face shape on top. A collage is easy to revise while the glue is fresh.
Offer a version without cutting
For a child who prefers tearing, tear broad strips and round their corners by tearing again. The pieces do not need to resemble perfect leaves. An adult can supply the body and the child can decide how the torn shapes overlap.
For a longer drawing session, add veins to a few leaves before gluing them. Avoid requiring veins on all twelve pieces. Ask which marks the child wants to repeat and let them leave other leaves plain.
Prepare a group table and save leftovers
For six children, provide six backing sheets, six tan body shapes and approximately 72 broad paper leaves, plus shared extra scraps. Put colors in shallow trays within reach. Offer one example rather than a template everyone must copy exactly.
Keep the pictures flat while the glue sets. Spare paper leaves can become an autumn leaf crown or decorate a paper gratitude tree. Share the child’s chosen title for the picture if they want to display it.