Simple activities. Colorful little moments.

Tissue Paper Leaf Suncatcher: An Autumn Window Craft
Make a tissue paper leaf suncatcher with a paper frame and clear adhesive film. Includes a tape alternative, window placement and cleanup tips.

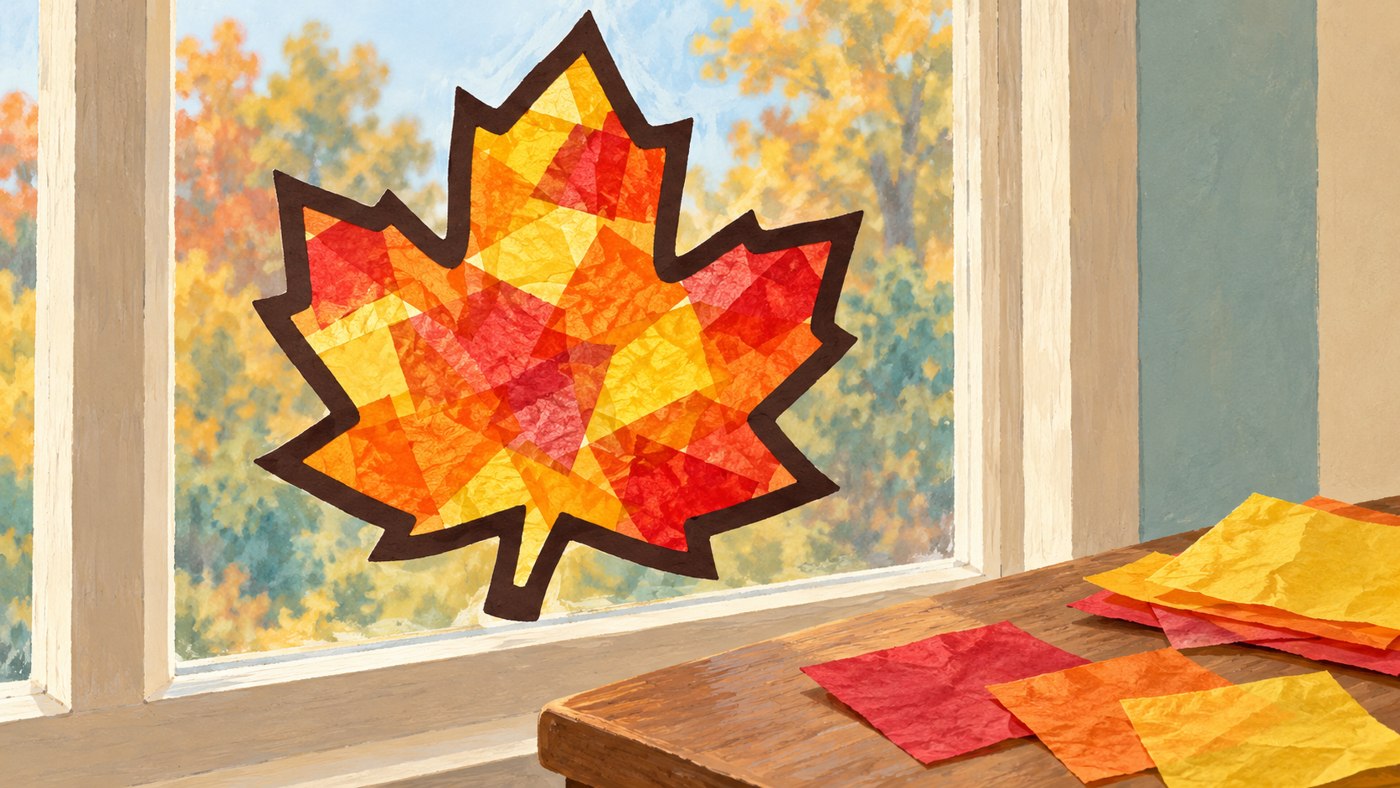
A tissue paper leaf suncatcher brings autumn color to a window without collecting or pressing real leaves. A broad paper outline holds pieces of tissue, and daylight shows where the colors overlap. The method below uses clear self-adhesive covering film. A simple clear-tape option works for a smaller version if that is what you have.
Prepare the leaf frame
Gather dark construction paper, yellow, orange and red tissue paper, clear self-adhesive film, scissors and removable tape. An adult draws a large, simple leaf shape and cuts out the center, leaving a border about 2 centimeters wide. Avoid narrow points that tear when the backing is lifted.
Make the leaf small enough to fit within one sheet of film. A rounded oval leaf with a short stem is easier than a deeply pointed maple shape. Cut or tear tissue into pieces roughly 3 to 5 centimeters across. Larger pieces are easier to place and make cleanup simpler than confetti-sized scraps.
Create a sticky work surface
Cut a piece of clear film slightly larger than the frame. Peel off its backing and lay it sticky side up. Tape the corners to the table so it does not fold onto itself. Place the paper leaf border on the sticky surface and press it flat.
Test the material before giving it to the child: some coverings are strongly adhesive and difficult to reposition. Keep the backing nearby to cover exposed sticky areas temporarily. Work on the table rather than trying to assemble the craft directly on the window.
Fill the leaf with light layers
Lay tissue pieces inside the frame, beginning near the edge and working inward. Overlap the edges a little so the opening is covered. Press each piece gently with a fingertip. One or two layers let more light through than a thick pile of tissue.
Invite the child to hold two colors together near the light before placing them. Describe what you can see without promising a particular result: tissue dyes and thickness vary. If the center becomes too dark, leave the remaining areas lighter rather than pulling apart the whole collage.
Seal, trim and display
An adult places a second piece of clear film over the finished leaf, sticky side toward the collage. Lower it gradually from one edge and smooth outward to reduce wrinkles. Cut around the outside of the paper border, leaving a narrow clear margin so the two film layers stay joined.
Attach the finished piece to a window with removable tape after testing the surface. Use a reachable window away from heat sources, and keep access to handles clear. Do not ask children to climb onto furniture to place it. Check it occasionally and remove it if the tape loosens.
Use clear tape for a smaller version
If you have no covering film, make a smaller frame and bridge its opening with overlapping strips of wide clear tape, sticky side up. Secure the frame on the table first. Add tissue, then cover the back with another layer of tape. Adult help makes this fiddly version much easier.
Keep leftover tissue in a reusable envelope. The finished craft mixes paper and plastic, so do not assume it belongs in paper recycling; follow your local collection guidance. For an all-paper alternative, try our leaf hedgehog collage. Our autumn nature activities offer ideas for noticing the season outside.