Simple activities. Colorful little moments.

Paper Chain Craft for Kids: 5 Easy Ways to Make It Your Own
Try a paper chain craft for kids with simple cutting and joining steps, five creative variations and practical tips for sturdy loops and easy cleanup.

A paper chain craft for kids starts with a repeatable little action: curl a strip, join the ends, and thread the next strip through. The result can be a short tabletop sculpture, a decoration or a collection of color patterns. It is also a useful way to turn leftover paper into something new without a complicated template.
Begin with six to ten strips per child. A small finished chain feels achievable, and more links can be added later. Younger children may prefer to hand over strips or choose colors while an adult closes the loops. Set aside about 15 to 20 minutes for a first session.
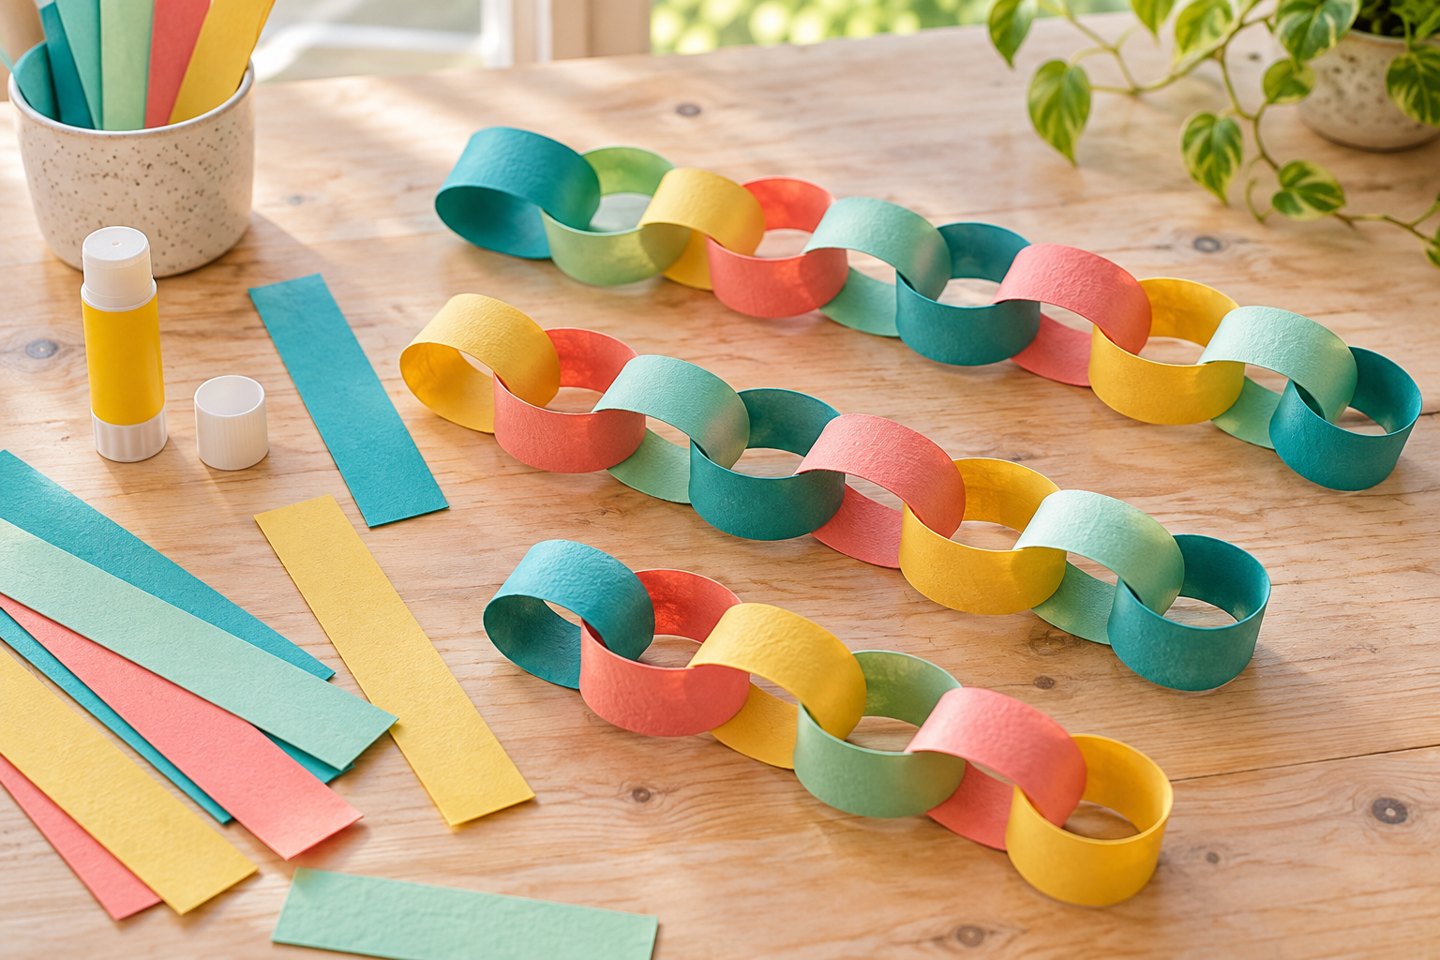
Choose paper and prepare wide strips
Use ordinary colored paper, recycled drawings or lightweight wrapping paper. Stiff card can spring open, while very thin tissue tears easily. Cut strips about 3 centimeters wide and 20 centimeters long as a starting size. The exact measurement is not important; similar-sized strips make the first links easier to compare and connect.
You will also need a glue stick or small pieces of paper tape and scissors appropriate for the child. An adult can cut a starter pile in advance. Keep loose scraps away from children who mouth materials. Avoid staples for a wearable or frequently handled craft, and treat paper chains as decorations rather than necklaces or restraints.
How to make the first three links
First link: bend a strip into a loop and overlap its ends by about 2 centimeters. Apply glue to the overlap, press the paper together and hold briefly. If the join pops open, use a small piece of tape across it.
Second link: pass a fresh strip through the first loop before joining its ends. Third link: thread the next strip through the second loop and close it. Lay the growing chain on the table instead of letting its weight hang from a newly glued join. Once the sequence is familiar, children can choose their own pace.
Five paper chain ideas to try
1. Two-color pattern. Alternate two colors, then say the sequence aloud. For another challenge, repeat a three-link unit. Changing the plan halfway through is fine if the goal is decoration rather than following a rule.
2. Drawing chain. Decorate each strip before curling it. Dots, zigzags and tiny pictures appear on different sides as the chain turns. Leave the overlap area free of thick crayon or paint so the glue can grip.
3. Family collection. Each person makes a short chain, then everyone helps connect the sections. 4. Paper-scrap rainbow. Arrange available colors in a gradual sequence without needing an exact rainbow set. 5. Story chain. Draw a character or event on each strip, then use the links as prompts for an invented story.
Fix links that keep opening or tearing
Increase the overlap if a join is too narrow. Reduce the amount of glue if the paper becomes soggy, or use tape when the surface is glossy. If a child repeatedly crushes a loop while threading the next strip, make wider loops and let the chain rest on the table. Shorter chains also put less strain on individual links.
For children who are not cutting yet, offer ready-made strips and let them choose the order. For children who enjoy precision, invite them to measure a batch of equal strips. Neither approach needs to become a race or a test of neatness.
Display and save the useful leftovers
Display the chain on a shelf or secure it high and out of reach, away from heaters, flames, doors and walking routes. Save unused strips for paper weaving, or tear them into pieces for paper mosaic art. A few leftover supplies can become the next day’s activity.