Simple activities. Colorful little moments.

Paper Mosaic Art for Kids: A Simple Rainbow Collage
Try paper mosaic art for kids with an easy rainbow collage. Learn how to prepare paper pieces, arrange a design and adapt the craft for different ages.

Paper mosaic art for kids turns leftover colored paper into a bright picture, one piece at a time. This rainbow collage is a useful starting project because children can follow broad curved bands or invent a completely different design. The gaps between the pieces are part of the mosaic effect, so there is no need for a perfectly smooth result.
Set aside around 20 to 30 minutes, including time to arrange pieces before gluing. Offer a small piece of card for a quick project, or spread a larger picture over two sessions. The aim is to make an enjoyable collage, not to fill every inch in one sitting.
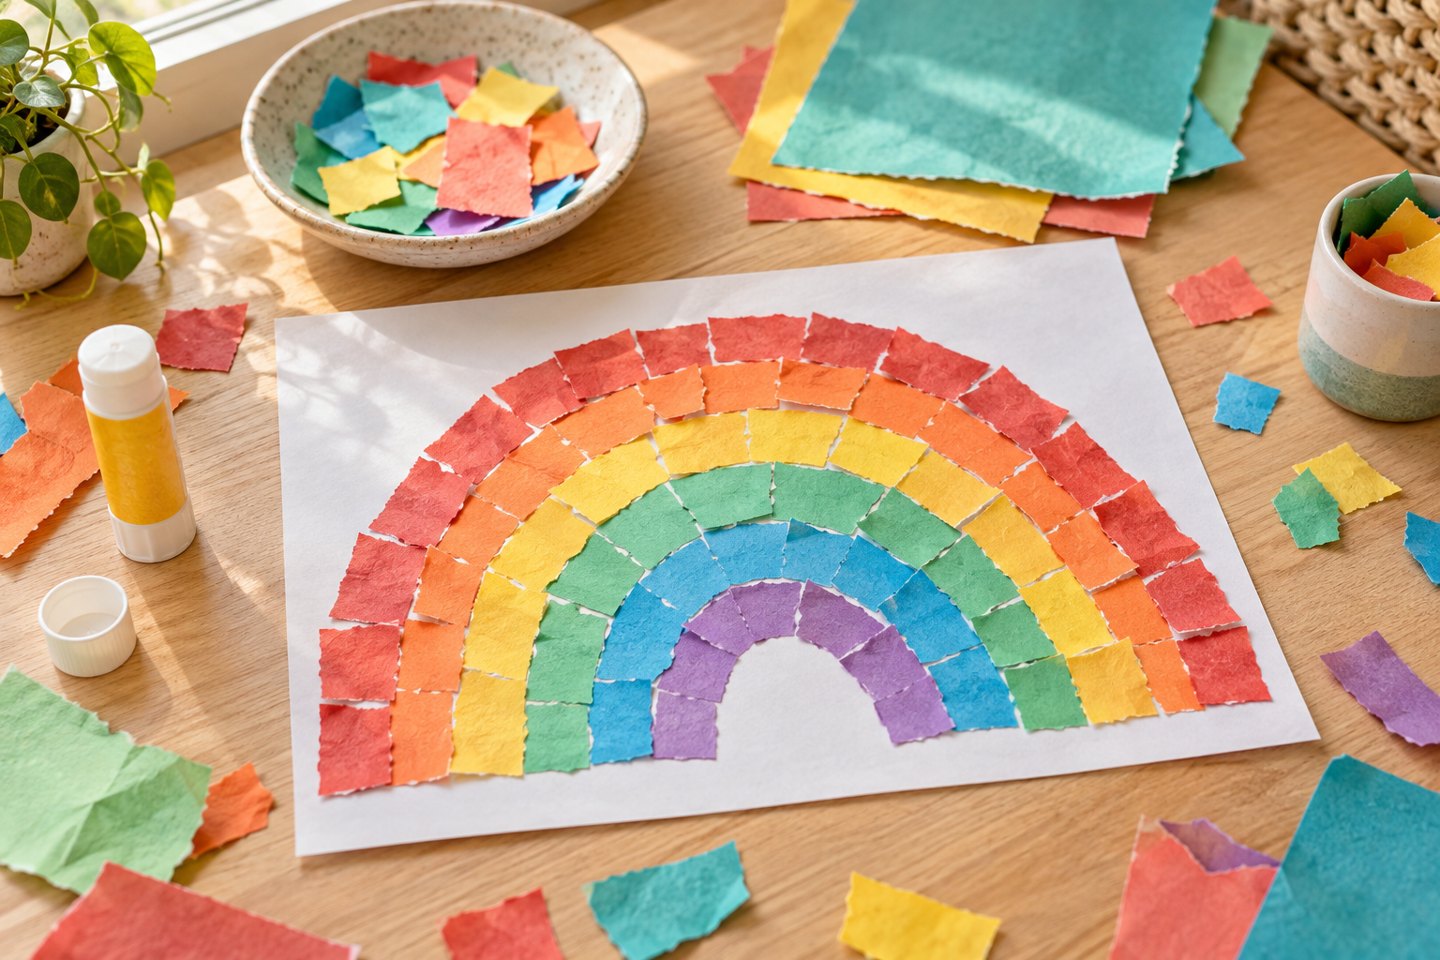
Materials for a paper mosaic rainbow
You need a sheet of sturdy paper or thin card, colored paper scraps, a pencil, a glue stick and a tray for the pieces. Child-appropriate scissors are optional: tearing the paper works just as well. Choose four or five colors for a manageable setup. Magazine pages can add texture, although plain paper makes it easier to distinguish the rainbow bands.
Prepare pieces that suit your child
Tear or cut the paper into rough squares about 2 to 3 centimeters wide. Larger pieces cover the page more quickly and are easier to pick up. Offer fewer pieces at a time if a full tray feels overwhelming. An adult can prepare the scraps, or making the pieces can become the whole first session. Keep small scraps away from children who put materials in their mouths.
Draw a simple rainbow outline
Lightly sketch three or four wide curved bands on the card. Leave room for a sky or clouds if your child wants them. For a less guided version, skip the outline and let the pieces suggest a picture. A circle, a large initial or a simple house also makes a good mosaic shape because there are only a few areas to fill.
Arrange first, then glue small sections
Place several pieces along the first band without glue. Show how a little background can remain visible between neighboring pieces. Once the arrangement feels right, lift two or three pieces, rub glue on that small area, and put them back. Working in sections keeps the adhesive from drying before the paper reaches it.
Continue across the picture, pressing each piece gently with a fingertip. Pieces can overlap at the edges of the rainbow, and irregular corners do not need trimming. If the card curls, reduce the amount of glue and let the finished collage dry flat. Avoid adding water or a thick glue coating over the top; ordinary paper often wrinkles when saturated.
Three variations using the same scraps
Color-family mosaic: use several shades of one color inside a simple shape. Texture hunt: combine plain paper, wrapping-paper offcuts and magazine colors. Shared picture: give each child one area of a larger design, then join the sections when they are finished.
For children who want an extra challenge, suggest a background that contrasts with the main shape or ask them to rotate rectangular pieces along a curve. For a quicker version, cover only the outline and leave the center empty. There is no single correct arrangement, and children can change the plan as they go.
Dry, display and reuse the leftovers
Let the collage dry before lifting it by the corners. Display it on a shelf or attach it to folded card as a handmade greeting. Store remaining scraps in a small envelope by color, ready for the next project. If your child enjoyed tearing and arranging paper, try our torn paper flower craft. For a different way to use paper strips, follow the paper weaving activity.
[…] to store than bulky decorations. For a different paper texture, use small scraps inspired by our paper mosaic art activity on the body […]