Simple activities. Colorful little moments.

Free Printable Size Sorting Cards: Small, Medium and Large
Download nine printable size sorting cards. Explore small, medium and large with simple shape activities, comparison questions and easy adaptations.

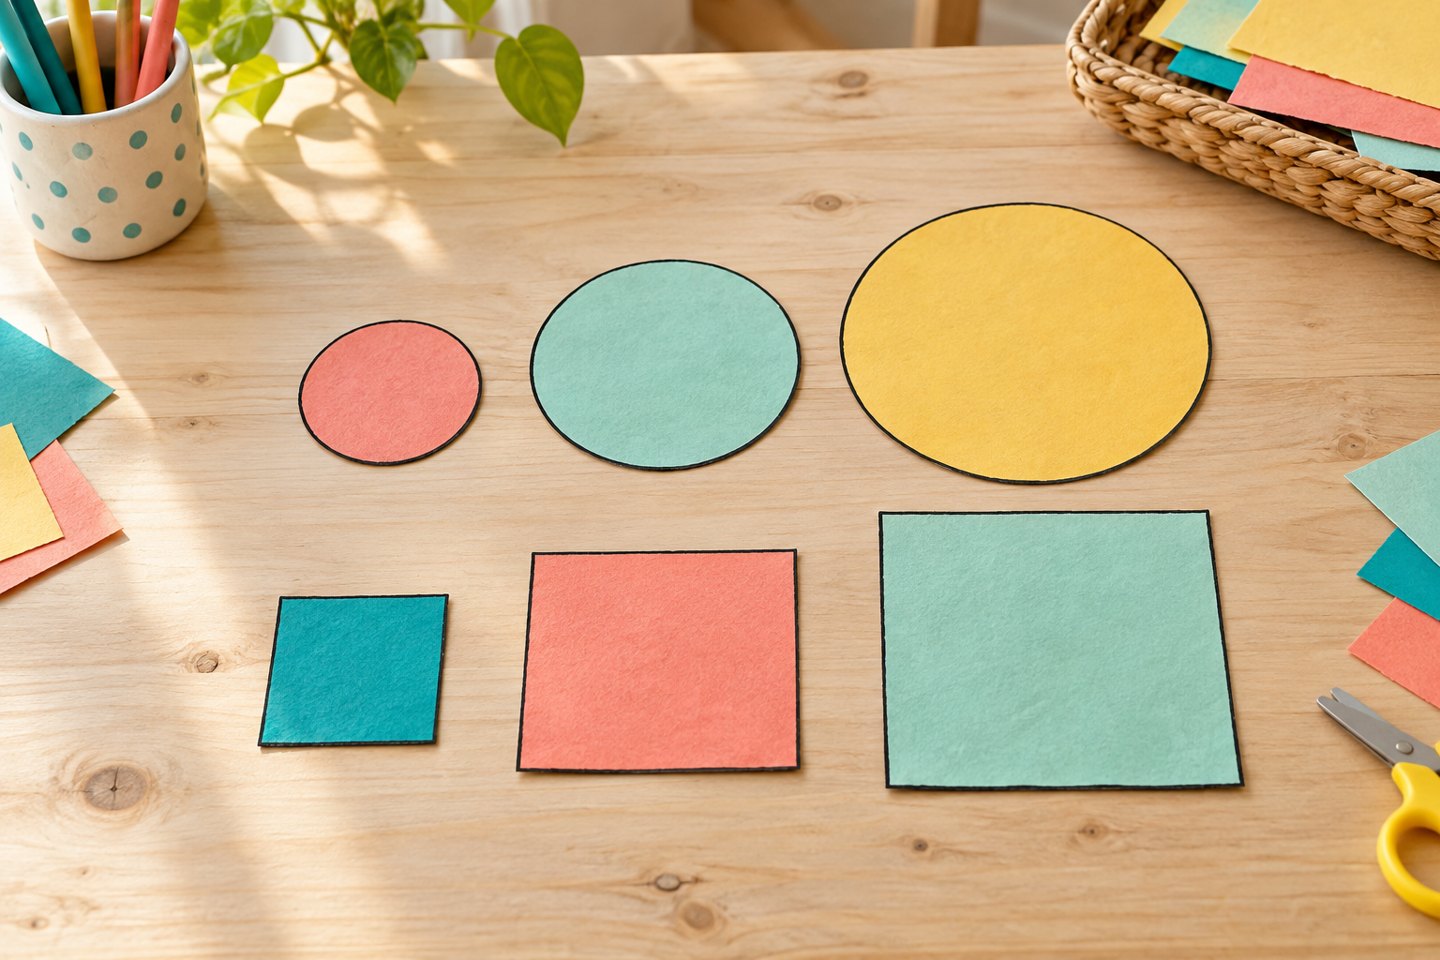
These printable size sorting cards give children a small set of shapes to compare, arrange and discuss. Each shape appears in three sizes, so you can begin with one family of circles before mixing in squares and triangles. The task is to compare the drawn shapes, not the paper cards, which are all the same size.
Use the activity when your child enjoys matching or putting things in order. There is no need to finish every variation at once. Five minutes with three cards can be a complete session, especially when the child is meeting the size words for the first time.
Download the small, medium and large cards
The one-page PDF contains three circles, three squares and three triangles in small, medium and large versions. Print on US Letter paper, or choose ‘Fit to page’ for A4. Scaling the whole page preserves the relative sizes. The outline design works in black and white, and no email signup is needed. An adult can cut along the card borders.
1. Compare just two shapes
Start with the smallest and largest circles. Place them beside each other and ask, ‘Which circle is bigger?’ Let the child point, move a card or answer in words. Swap their positions and ask again so left or right does not become the rule. Describe what you notice without turning every response into a quiz.
Keep the comparison within one shape family at first. A wide triangle and a circle can invite different interpretations of size, while two circles make the intended comparison clear. Put the remaining cards away until you need them.
2. Add the middle-sized card
Introduce the third circle and place all three in a row. Say ‘small, medium, large’ while pointing to them, then mix them for the child to reorder. Medium means the one between the smaller and larger examples in this set. It is a relationship between the shapes, rather than a permanent label for every object of that size.
3. Sort by shape, then order by size
Bring in the squares and triangles. First make a circle group, a square group and a triangle group. Next, arrange each group from smallest to largest. Keeping these as two separate steps helps make the current rule explicit: you are sorting by shape first and comparing size second.
If nine cards feel like too much, offer the circles and squares only. If the child confidently arranges all three groups, reverse the request and build rows from largest to smallest. Invite them to explain or demonstrate the order rather than expecting particular wording.
4. Build three size groups
Make areas for small, medium and large using three sheets of scrap paper. Put the smallest circle, square and triangle together, then repeat for the middle and largest shapes. These groups refer to each shape’s relative position within its own family; they are not an exercise in calculating equal area across different shapes.
5. Let the child set a sorting rule
Ask the child to arrange a few cards while you guess the rule. They might group by shape, make a size row or alternate two shapes. Ask what the plan is before calling an arrangement incorrect. If they want to invent a pattern, use the cards alongside our printable pattern activities.
Keep the activity practical and playful
For a table-free version, arrange the cards on the floor where they are easy to reach. Avoid adding tiny counters, and supervise children who mouth paper pieces. Store the set in an envelope rather than laminating it unless repeated use makes that worthwhile.
The cards are free for personal and classroom use. You can extend the same comparisons to three familiar nesting containers, or explore more shape names with our free printable shape cards. End with a successful comparison and return to harder arrangements another day.