Simple activities. Colorful little moments.

Torn Paper Flower Craft for Kids: A Simple Collage Garden
Make a torn paper flower craft with paper scraps, glue and crayons. Follow easy steps, age adaptations and cleanup tips for a colorful collage garden.

A torn paper flower craft turns a handful of scraps into a bright little garden. Children tear petals, arrange their own flowers and glue them onto a sheet of paper. There is no template to match and no need to cut perfect circles, which makes this a forgiving project for a mixed-age table.
Set aside about 20 to 30 minutes, including setup and cleanup. The activity suits many children ages 3 to 8 with an adult nearby, but choose the size of the pieces and the amount of help around your child. Younger children can place larger pieces that you tear first.
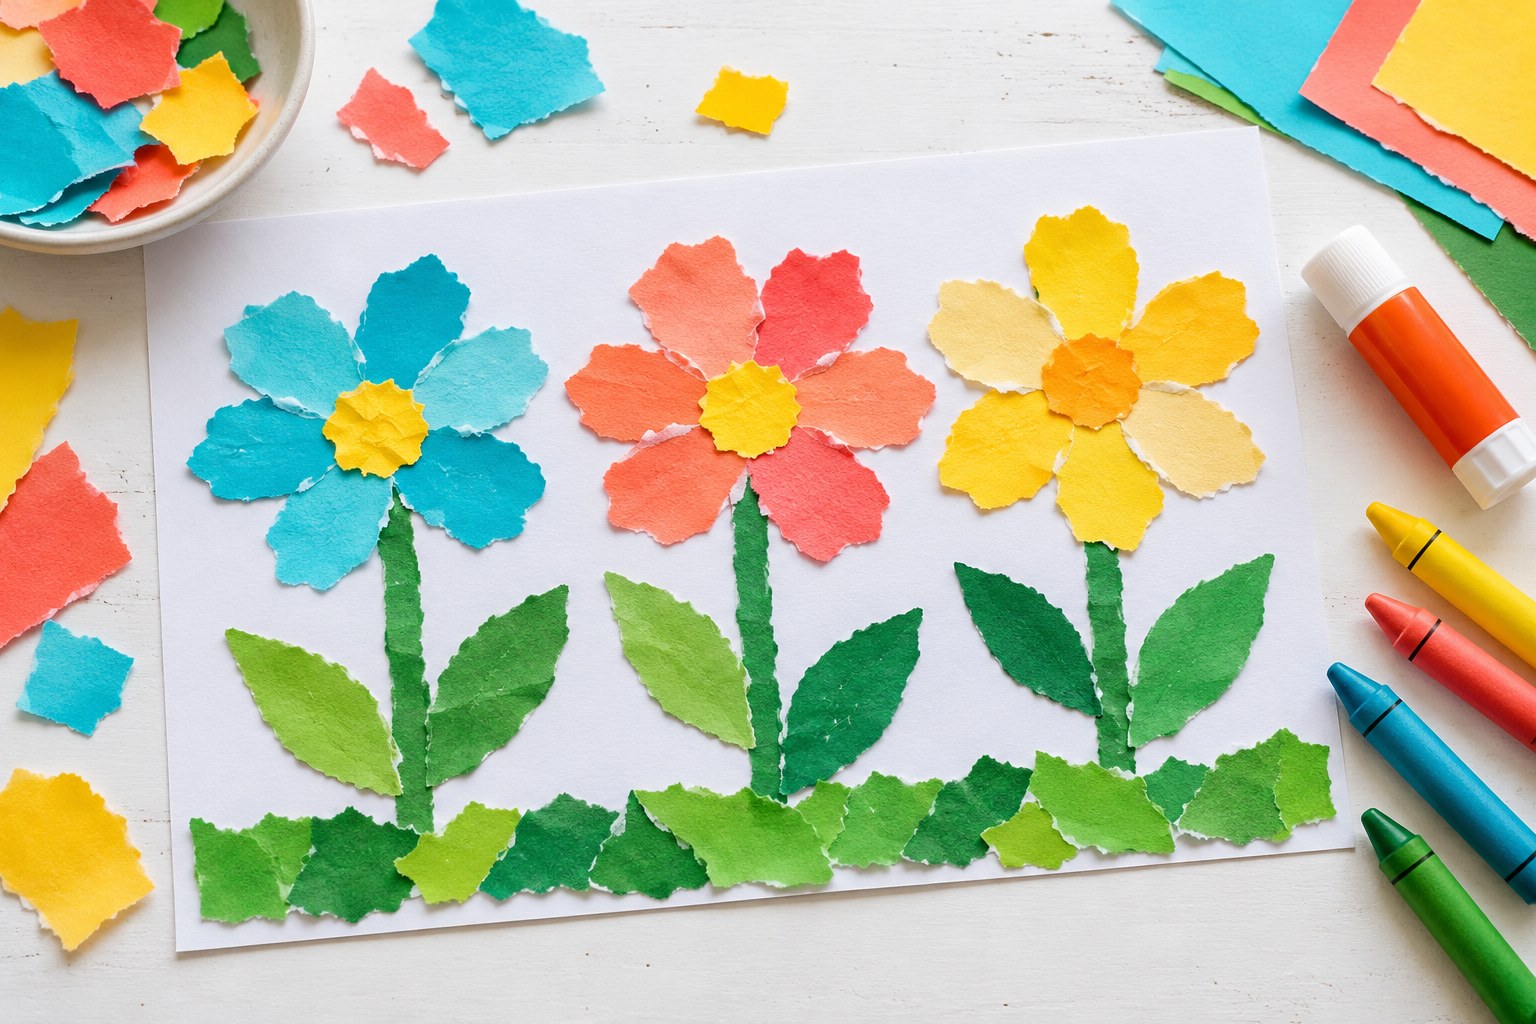
What you need
- One sheet of sturdy white paper or thin cardboard for the background
- Scraps of colored paper, including some green for stems and leaves
- A child-appropriate glue stick
- Crayons or washable markers
- A shallow tray or reused box lid to hold scraps
Construction paper is easy to tear, but ordinary colored printer paper works too. If you only have white paper, let your child color it first. Avoid glossy paper that fights the glue, and remove staples or sharp edges from any reused materials.
How to make a torn paper flower craft
1. Tear a small pile of petals
Choose two or three colors and tear each sheet into strips. Tear the strips again to make pieces roughly the size of a child’s thumb. A slightly uneven edge gives the flowers their texture. If tearing feels frustrating, start a tiny tear yourself and let your child finish it.
2. Arrange the flowers before gluing
Place a small yellow piece on the background for a flower center. Arrange petals around it, leaving enough room underneath for a stem. Make one large flower or several smaller ones. Try moving the pieces around before opening the glue; this makes changing the picture easy.
3. Add stems, leaves and grass
Tear narrow green strips for stems and wider pieces for leaves. Slide the top of each stem slightly underneath a flower. Add a strip of grass along the bottom if you like. Children can also draw stems instead of tearing them, especially when narrow paper strips become fiddly.
4. Glue one piece at a time
Lift each piece, apply a little glue to the back and press it into place. Work from the stems to the flower centers and petals so the overlapping parts stay where you want them. Encourage a gentle press rather than rubbing, which can roll wet paper into little balls.
5. Finish the garden in your own way
Use crayons to add rain, a sun, a path or a tiny insect. Ask an open question such as, ‘Who visits your garden?’ A purple stem or a flower with one enormous petal can stay exactly as the artist intended. Leave the picture flat until the glue has dried.
Adapt the activity for different children
For a younger child, offer one flower center and a few large petals at a time. You can put glue on the background while they choose where to place the paper. For a child who enjoys a challenge, suggest overlapping petals, a two-color pattern or flowers at different heights.
For children who dislike sticky textures, keep a damp cloth nearby and use a glue stick rather than liquid glue. A child who prefers drawing can create the garden in crayon and add just a few paper details. These are different ways to join the same activity, not easier and harder versions of a finished picture.
Three ways to reuse the idea
- Make a greeting card: fold the background in half and add one flower to the front.
- Create a shared mural: give each child a section of one long sheet of paper.
- Try a seasonal picture: swap petals for orange leaves, snowflakes or a colorful imaginary tree.
For a birthday activity, use the same supplies in our art birthday party plan. If you are filling a quiet afternoon, pair the craft with one of these rainy-day activities for kids.
Common questions
Can we do this without colored paper?
Yes. Color plain paper with crayons before tearing it, or use clean packaging with interesting colors. Check reused paper for staples and avoid materials with sharp or dirty edges.
How do I keep the paper from curling?
Use a light layer of glue and a sturdy background. Press each piece briefly and let the collage dry flat. Heavy amounts of liquid glue are more likely to wrinkle thin paper.
Does it need to look like the example?
No. Use the example as a starting point, then let the child decide how many flowers to make and where the pieces belong. The useful part of this project is making choices and trying materials, not producing an identical copy.