Simple activities. Colorful little moments.

Autumn Leaf Crown Craft for Kids: An Easy Paper Version
Make an autumn leaf crown craft with a paper band and colorful paper leaves. Includes easy shaping steps, fitting tips and a no-wear display option.

This autumn leaf crown craft uses cut-paper leaves, so you can make it on a rainy day without collecting anything outdoors. A wide paper band holds the decorations, and children choose their own mix of autumn colors. Use it for pretend woodland play, a seasonal craft afternoon or a small display.
Allow about 20 minutes for making, plus drying time if needed. Paper leaves are lighter and more predictable than fresh leaves, which can curl or crumble. The finished crown does not need to look like a particular tree: simple oval and pointed shapes work well.
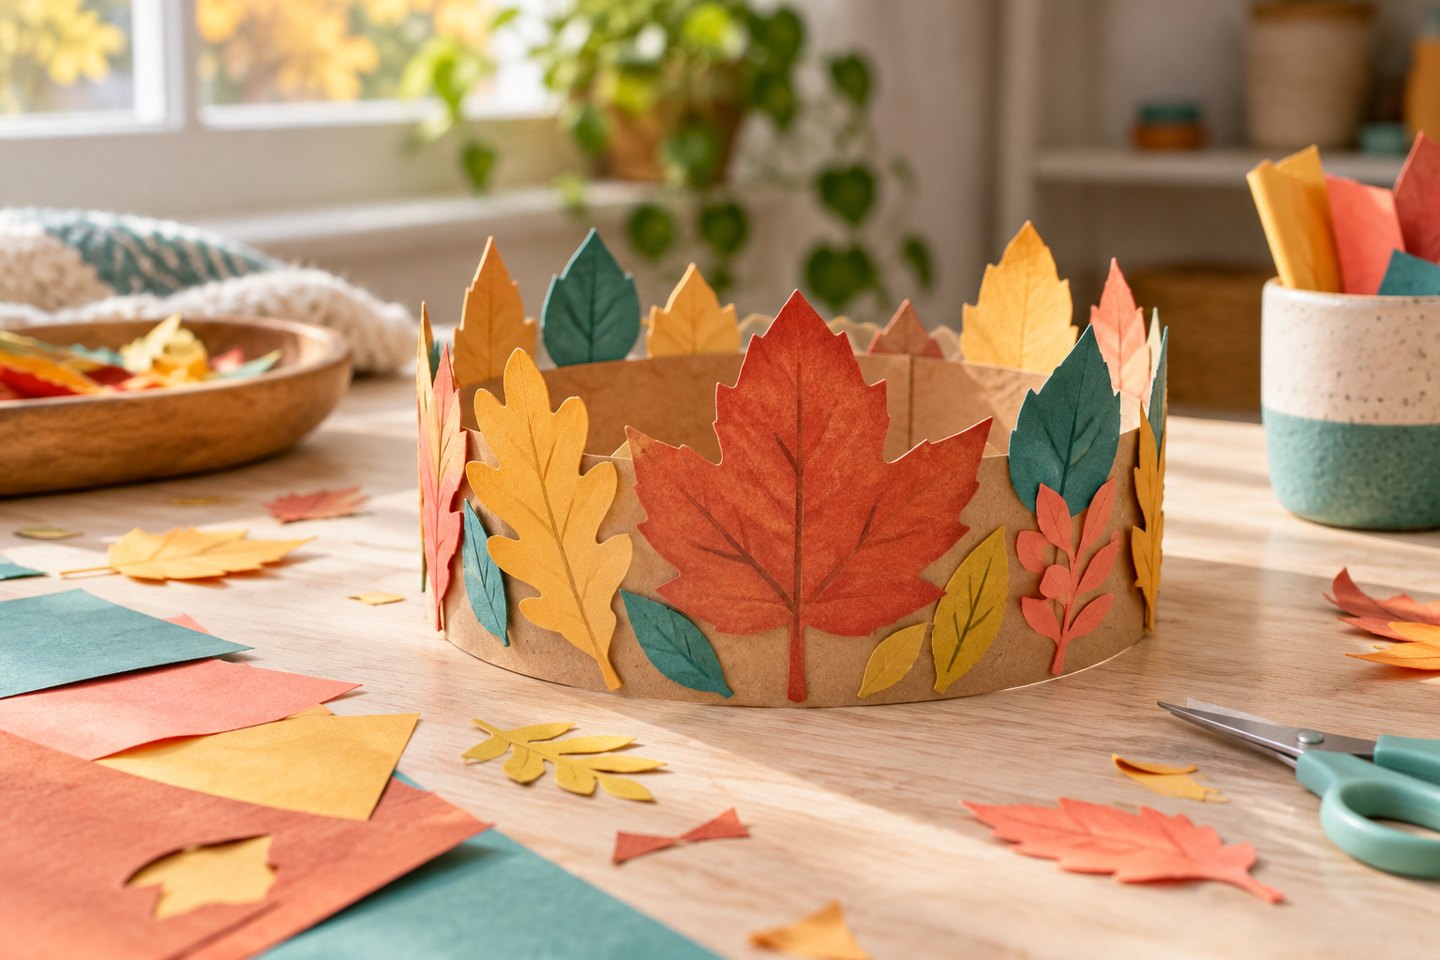
Gather the supplies
You need a strip of lightweight card for the band, colored paper, crayons, a glue stick, paper tape and scissors suited to the child. Choose yellow, orange, rust, brown or any colors your child enjoys. An adult can prepare leaf shapes and trim the band if cutting is not part of the activity.
Use flat paper decorations rather than berries, twigs, wire or small glued-on pieces. Keep scissors and loose scraps supervised. This is a play accessory to use while awake with supervision; take it off when it interferes with movement, vision or comfort.
1. Prepare a wide paper band
Cut a card strip about 5 to 7 centimeters wide. Join two shorter strips with tape if necessary, keeping the joins flat. Wrap the strip loosely around the child’s head to check its length, then mark the overlap and lay it flat again. Do not close the band until most of the decorating is finished.
A comfortably loose fit is more useful than an exact measurement. Keep the edge above the eyebrows, and avoid a chin string or elastic loop. If a child does not want to wear a crown, size the band for a soft toy or leave it as a standing paper ring instead.
2. Make simple paper leaves
Draw a large oval with a point at one end and cut around it. For a symmetrical leaf, fold a paper rectangle in half, draw half a leaf along the folded edge, and cut around the outside while keeping the fold intact. Open the paper to reveal the whole leaf. An adult can demonstrate with one piece before offering more.
Draw a center line and a few branching lines with crayons. These can suggest leaf veins without needing botanical accuracy. Make a small collection of different lengths so the crown has a varied outline. Larger pieces are easier to attach and cover the band more quickly than a pile of tiny shapes.
3. Arrange the leaves before gluing
Lay the band flat and try placing the largest leaves near its center. Tuck smaller leaves between them, leaving the marked overlap area undecorated. Check which direction the points will face when the band closes. Children can choose a regular repeating pattern or a more scattered arrangement.
Glue the lower part of each leaf firmly to the band. Keep the leaves low enough that they will not flop over the child’s eyes. If a leaf is too tall, trim it or shift it down instead of adding a stiff support. Let the joins settle before lifting the band.
4. Fit and close the crown
Check the fit again with an adult’s help, then tape the overlap securely on the outside and cover any rough join. Use tape rather than exposed staples. Ask the child whether the band feels comfortable, and remove it if they prefer not to wear it. There is no reason a finished craft has to become a costume.
Turn the same idea into another activity
Make a crown for a teddy, flatten the decorated band into a seasonal wall strip, or use extra leaves in a collage. Children who want to explore real autumn textures can try a supervised leaf-rubbing activity from our autumn nature ideas. For another wearable-free paper project, make a paper mosaic picture. Save leftover leaves in an envelope for the next craft session.
[…] the pictures flat while the glue sets. Spare paper leaves can become an autumn leaf crown or decorate a paper gratitude tree. Share the child’s chosen title for the picture if they want […]