Simple activities. Colorful little moments.

Paper Bag Animal Puppets: Make a Cat, Rabbit and Owl
Make paper bag animal puppets with simple shapes. Follow the cat, rabbit and owl ideas, keep the mouth flap moving, then put on a short puppet show.

Paper bag animal puppets combine an easy paper craft with something children can use afterward. A folded-bottom paper bag becomes the animal’s face, while the opening underneath gives a hand room to move the mouth. Make one character first, then add friends when the story needs them.
The cat, rabbit and owl below all use the same basic construction. Children can choose different colors, oversized ears or imaginary markings. Allow roughly 20 to 30 minutes for cutting and decorating, plus drying time if needed. An adult should handle any cutting that is beyond the child’s current skills.
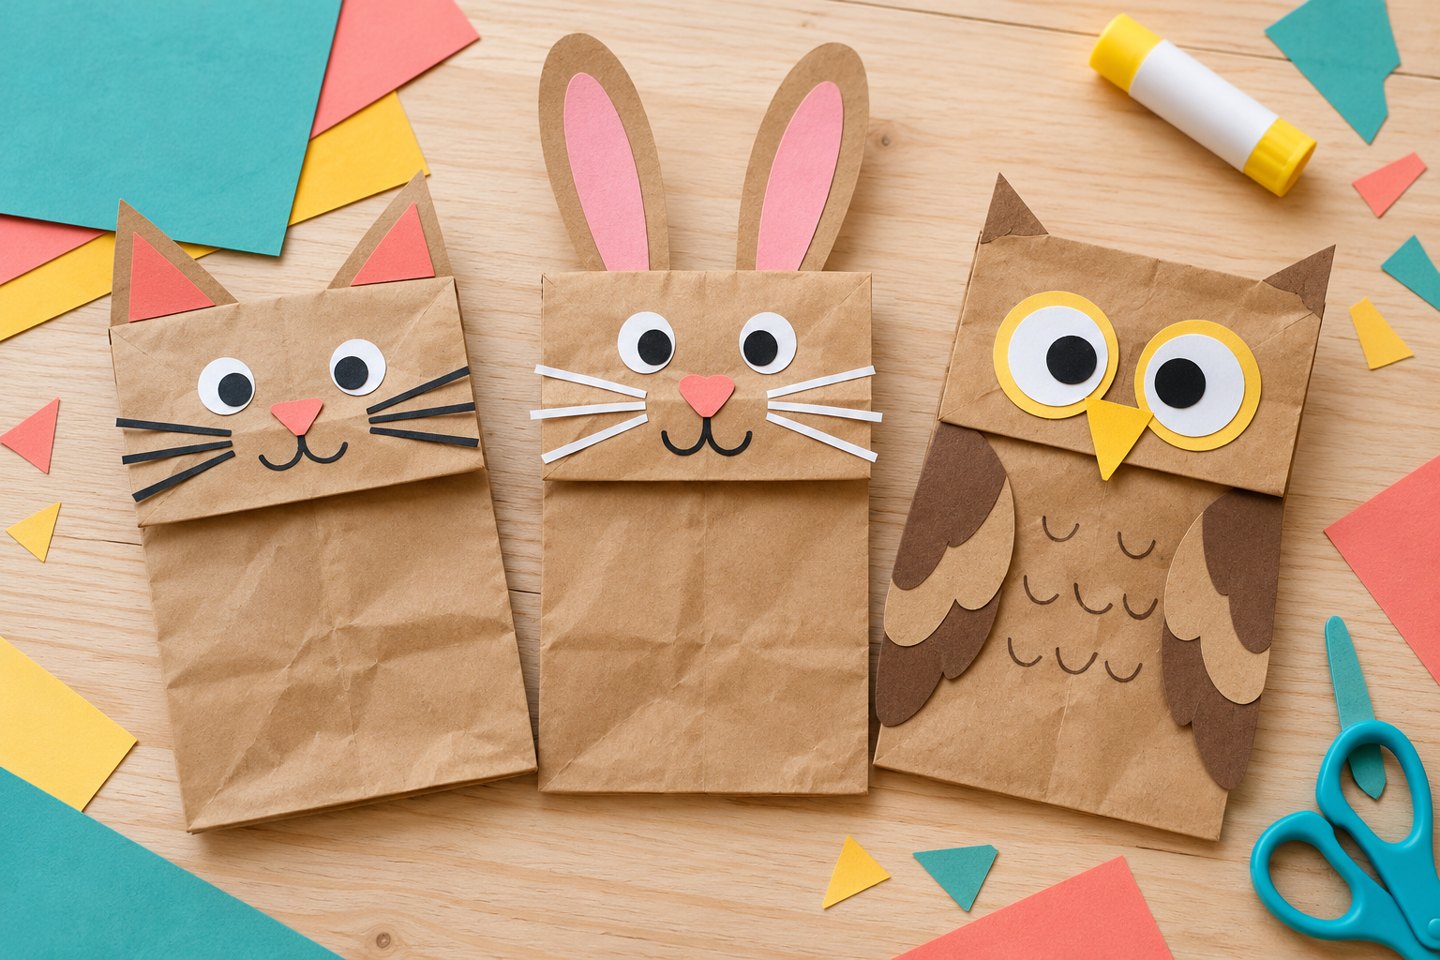
Materials for three simple puppets
Gather clean paper bags with a folded rectangular bottom, colored paper, a glue stick, crayons or washable markers and child-appropriate scissors. A pencil helps with sketching shapes before cutting. Paper eyes are enough: you do not need plastic eyes, staples or other small decorations.
Check that the bag fits comfortably over the player’s hand. Very large bags can be awkward to control, while a narrow opening can tear. If the bag has no folded bottom, it can still become a character, but it will not have the same moving mouth. Use that version as a simple hand-held puppet instead.
Understand the mouth flap before decorating
Lay the flattened bag with its folded bottom facing upward and its open end pointing toward you. The rectangular bottom flap is the top part of the face. Lift it gently to find the space where the lower mouth can be drawn. Keep the fold free of glue so it can open and close.
Slide a hand into the bag and test the movement before adding features. Draw a small mouth under the flap if you want it visible when the animal speaks. Place decorations on the outside only; gluing across the fold or inside the opening can stop the puppet moving.
Make a paper bag cat
Cut two paper triangles for ears and attach them behind the top edge of the face flap. Add two circles for eyes and a small triangle or rounded shape for a nose. Draw whiskers with a marker, or glue short paper strips beside the nose without covering the flap’s lower edge.
Decorate the long body of the bag with stripes, spots or a large tummy patch. A flat paper tail can attach to the side, but keep it short enough that it does not catch while playing. Try a sleepy cat with half-closed eyes or a surprised cat with wide circles.
Make a long-eared rabbit
Cut two long, rounded ears from paper. If the paper is thin, double the layers with a little glue and let them dry flat. Add smaller shapes inside the ears, then attach the finished pieces behind the face flap. The ears do not have to match exactly.
Use a small nose, two paper eyes and drawn whiskers for the face. Draw two teeth beneath the flap so they appear when the rabbit opens its mouth. Leave them as drawings rather than loose hanging pieces. A round paper patch on the lower bag makes a simple belly.
Make a wide-eyed owl
Cut two large eye circles and two smaller pupils, then arrange them on the face flap. Add a short triangular beak. Fold the bag’s top corners slightly if you like pointed tufts, or attach two small paper triangles. Keep all folds gentle so the original mouth flap still moves.
Add a wing shape to each side of the body and draw curved feather marks down the front. Flat wings are easier to store than bulky decorations. For a different paper texture, use small scraps inspired by our paper mosaic art activity on the body only.
Turn the craft into a small show
Once the glue is dry, let each puppet introduce itself with a name and one favorite thing. Begin with a tiny problem: the cat has lost a hat, the rabbit needs directions or the owl wants a quieter picnic. Take turns speaking, or let one person narrate while another moves the characters.
Our DIY puppet theater guide gives the characters a cardboard stage. A sofa back or a table edge also works, with adults checking that the setup is stable. Children can choose to show the puppet without performing a voice.
Fixes and storage
The mouth will not open: Check for glue across the fold and let damp areas dry before trying again. The bag tears: Patch a small tear from the outside with paper tape, keeping the hand opening clear. Store dry puppets flat in a shallow box so the ears and wings are not crushed.