Simple activities. Colorful little moments.

Spring Paper Garden Craft for Kids: Make a Standing Garden
Make a spring paper garden craft with folded grass, paper flowers and a cardboard base. Includes simple steps, troubleshooting and creative variations.

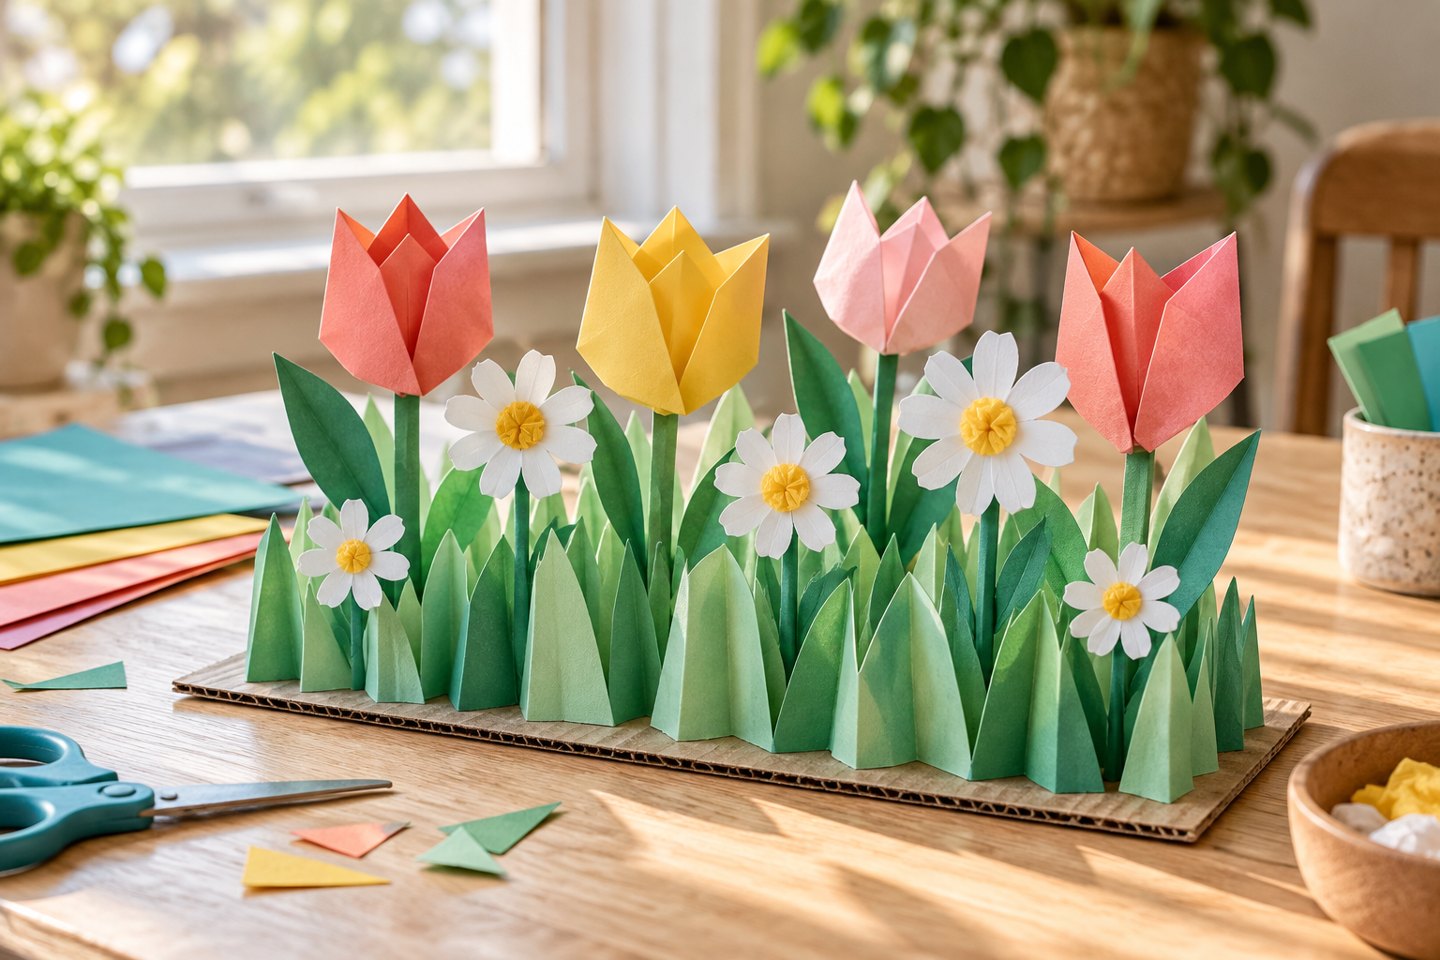
This spring paper garden craft turns a flat piece of cardboard into a little standing flower patch. Folded grass and paper stems give the scene height, while simple circles and petal shapes keep the making process approachable. Children can use spring colors or create a completely imaginary garden.
Plan for about 30 minutes of making time, plus drying if you use liquid glue. The garden can be a shared family project or a small individual display. An adult can prepare the folded supports so younger children can focus on arranging flowers and choosing colors.
Gather paper, card and a few basic tools
You need a piece of cardboard roughly the size of a sheet of paper, green paper or card, colored scraps, crayons, a glue stick, paper tape and child-appropriate scissors. Thin card is best for upright pieces. Use plain packaging card with staples and sharp edges removed. Skip wooden skewers and other pointed stem supports; folded card is sufficient.
1. Make the garden base
Cover the cardboard with green or brown paper, or color it directly. Decide where a path might run and leave that area open. A simple winding line is enough. Children can draw stones, a pond or patches of soil before any upright pieces are attached. Keep the base flat on the table while working.
2. Fold a strip of standing grass
Cut a green strip around 8 centimeters tall and nearly as wide as the base. Fold a 2-centimeter flap along one long edge. The flap will lie flat against the base while the rest stands up. Cut short fringe marks from the opposite edge, stopping well before the fold. For children not using scissors, an adult can prepare the fringe or leave the strip with a smooth top.
Glue or tape the bottom flap to the base, placing the strip toward the back so the flowers remain visible. Fold a second, shorter grass strip for the front if wanted. If the grass leans over, reinforce the fold rather than adding more glue to the upright surface.
3. Make flowers with folded card stems
Cut wide green card strips for stems and fold each lengthwise to form a shallow V. Bend a short flap at the bottom to make a foot. Cut simple flower heads from colored paper: a circle with petal shapes, a rounded tulip or a child’s own invented flower. Glue the heads near the tops of the stems, keeping them small enough for the card to support.
Let each child choose the number of flowers. Three sturdy blooms can be more satisfying than a crowded garden of stems that keep falling. Add folded leaves to the sides, then press the stem feet firmly onto the base with tape or glue. Hold glued pieces briefly and allow them to dry before moving the garden.
4. Add a path, visitors or a garden sign
Use leftover paper to add a butterfly, a little bench or a folded sign. Attach decorations to the base or to sturdy grass sections rather than balancing heavy pieces on thin stems. A small paper figure can travel along the path once the glue is dry. Children may prefer to leave their garden as a display, which is equally fine.
Fix floppy flowers and adapt the project
If a flower droops, shorten its stem or reduce the size of the flower head. A wider folded foot helps prevent tipping. If the base curls, use thicker cardboard next time and less wet glue. For a no-standing-parts version, arrange the same flowers as a flat collage. For a group garden, give each child one small base and place the finished sections next to each other.
When the garden is dry, display it on a shelf away from heat and moisture. The same folded construction can become an autumn woodland or a winter scene. For another flower project, try our torn paper flower collage; for a different season, browse winter paper crafts for kids.