Simple activities. Colorful little moments.

5 Winter Paper Crafts for Kids with Everyday Supplies
Try five winter paper crafts for kids, including snowflakes, a torn-paper snowman and a winter window scene, with easy adaptations and cleanup tips.

Winter paper crafts for kids can bring a snowy theme indoors even when there is no snow outside. These five projects use paper, crayons and glue, with cutting prepared by an adult when needed. Pick one idea for a short session or put out a small selection for an afternoon of making.
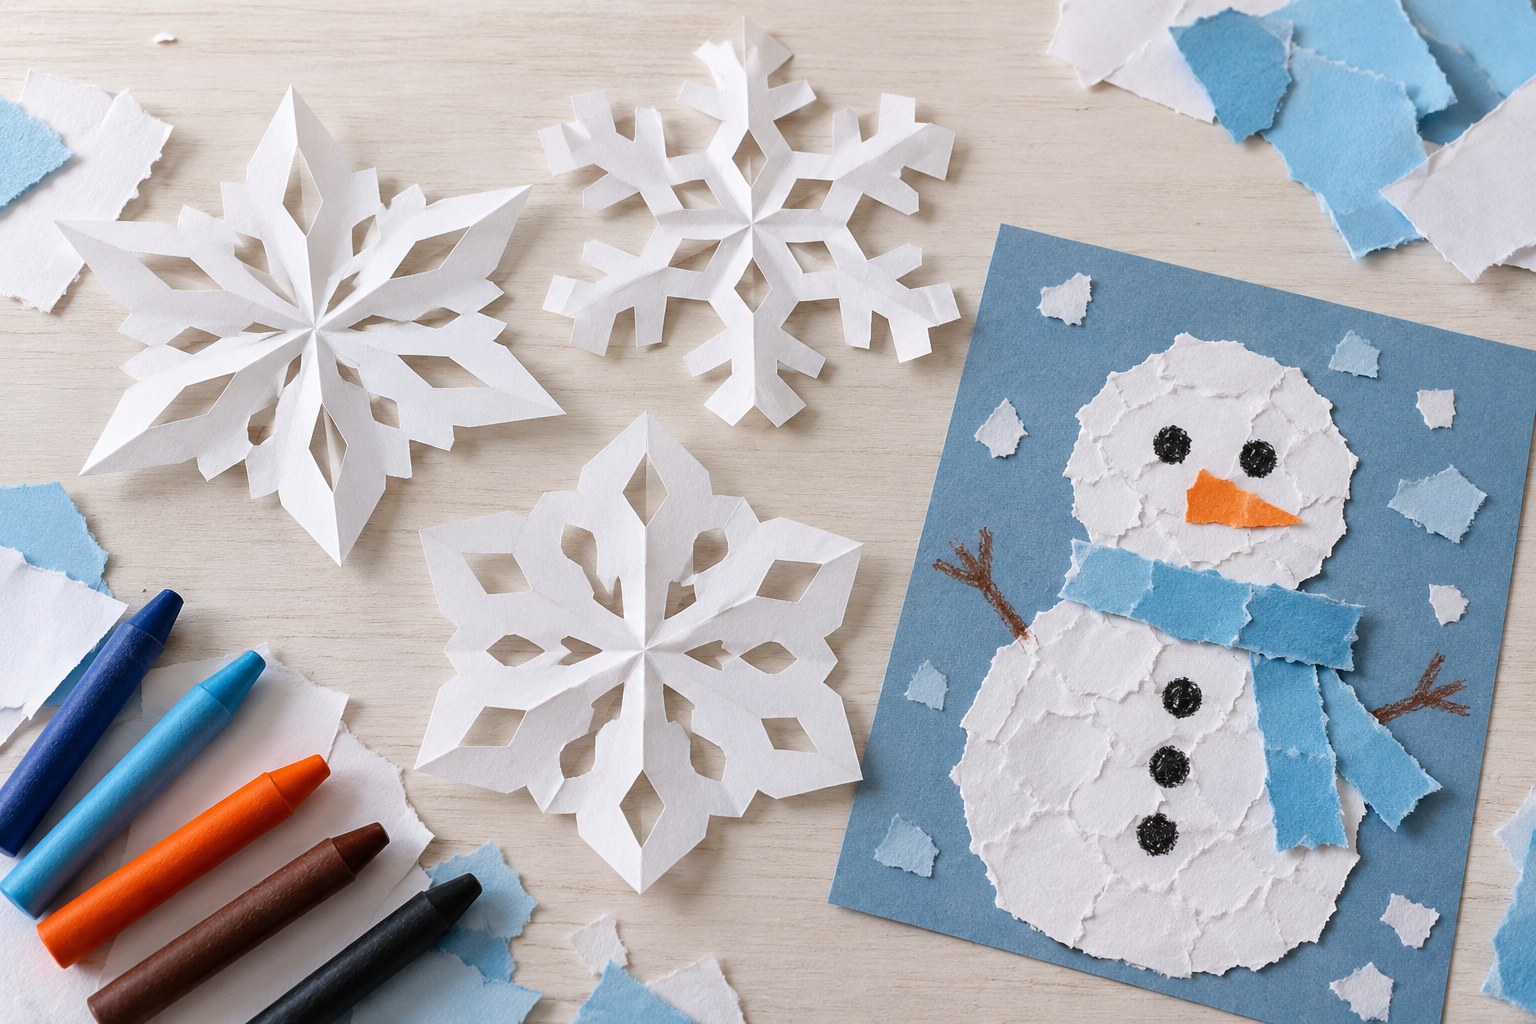
Set up a simple winter craft tray
Gather white paper, blue paper, a few colored scraps, crayons, a glue stick and child-appropriate scissors. Save plain packaging paper for larger backgrounds. Cover the work surface if necessary and keep a bowl or tray nearby for reusable scraps. Skip glitter if you want an easier cleanup; torn white paper creates plenty of texture on its own.
1. Fold and cut a paper snowflake
Fold a square of paper in half diagonally, then fold the triangle in half again. Cut a few small notches along the folded edges without cutting right through the whole shape. Open it slowly to reveal the pattern. This simple fold makes a snowflake-inspired decoration, not a scientifically exact six-sided snow crystal.
For children who find folded paper hard to cut, an adult can prepare the notches. They can unfold and decorate the result. Use thin paper and keep cuts few and broad. If the shape falls apart, use the pieces in a collage instead of throwing them away.
2. Make a torn-paper snowman
Draw two or three large circles lightly on blue paper. Tear white paper into pieces and glue them inside or around the circles. Add a paper scarf, then draw eyes, a mouth and arms. There is no need to use buttons or other small loose decorations. Try a tall snowman, a tiny one or a whole family of different shapes.
3. Create a winter window scene
Use a sheet of blue paper as the view outside. Add white hills, bare paper trees and a small house. Glue four narrow strips around the edge as a window frame, then add one strip across the middle. Ask what someone inside the house might see. Keep the collage on paper rather than attaching it to a real window with an untested adhesive.
4. Design a pair of paper mittens
An adult can draw a broad mitten outline for children to cut or decorate. Make two outlines and choose a pattern: stripes, dots, zigzags or alternating colors. The mittens can match, or each can have its own design. Glue them onto a background instead of connecting them with a long hanging cord.
5. Build a folded winter village
Fold a rectangle of paper in half so it stands like a tent. Draw a door and windows on the front and glue a strip of white paper along the top as snow. Make a few houses of different widths and arrange them on a large sheet. Add paper roads and trees, keeping the pieces large enough for the children taking part.
Choose the right amount of help
For younger makers, prepare shapes and let them focus on tearing, arranging and gluing. Older children might plan a color palette, add a repeating pattern or make a scene that tells a story. Offer help with a difficult cut without taking over the whole design. Stop when the child is satisfied, even if the model in your mind looked different.
Display, reuse and tidy up
Let glued work dry flat before putting it on display. Keep a small envelope of scraps for the next session and recycle the rest. Photograph bulky projects if you need to clear space. These are indoor paper decorations; keep them away from heaters, candles and damp surfaces.
For another paper project, try our flower collage. When the season changes, our autumn nature activities offer leaf-based ideas and indoor alternatives.